Removing an over the stove microwave can be a daunting task, especially if you have never done it before. However, it is a necessary process if you are planning on replacing your microwave or renovating your kitchen. Fortunately, removing an over the stove microwave is not as complicated as it may seem, and with the right tools and instructions, you can do it yourself without having to hire a professional.
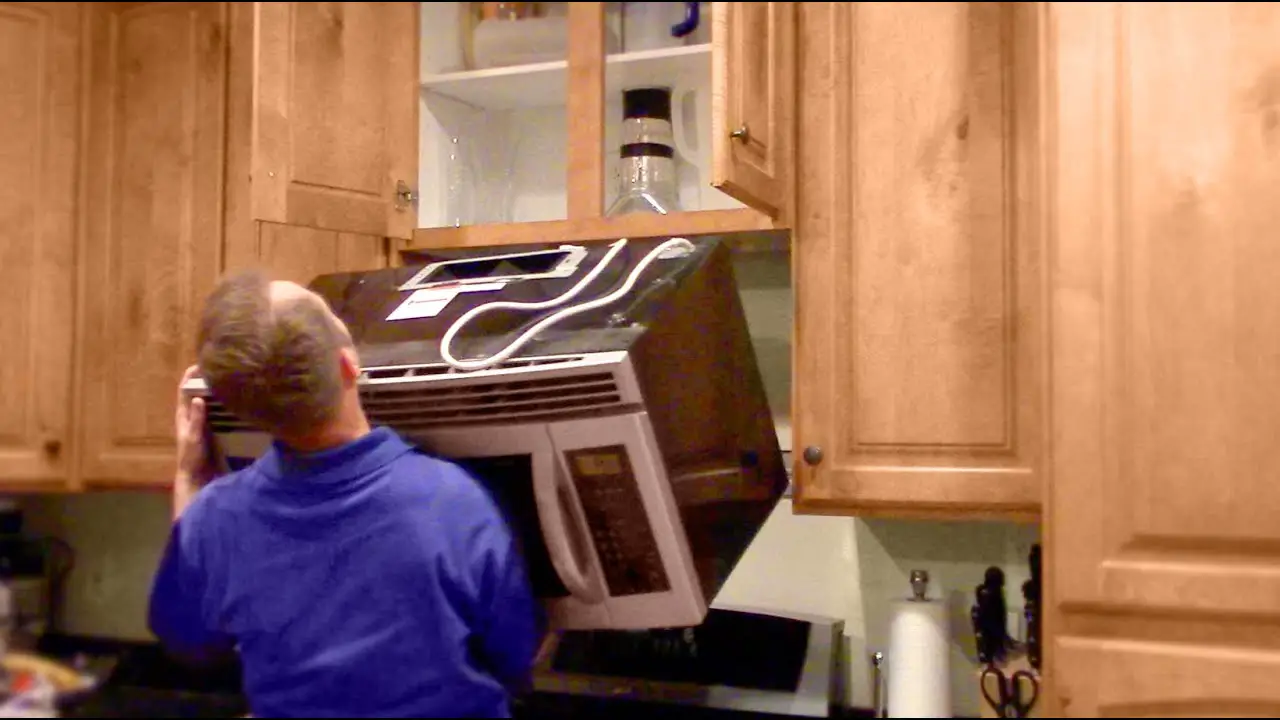
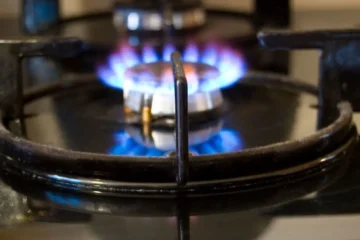
Before starting the removal process, it is important to prepare your workspace by disconnecting and/or removing your stove and unplugging your microwave. The next step is to remove the top screws that secure your microwave and slide it out of its place until the tabs pop off the bracket. While lifting the microwave, it is important to support it from underneath and lift it slightly to pop the tabs from the mounting bracket out from the bottom of the microwave. As you’re lifting the microwave, slowly take steps backward until the microwave is out of the opening.
Safety Precautions
Removing an over-the-stove microwave can be a challenging task that requires some safety precautions. Here are some tips to keep in mind before you begin:
Turn Off the Power
Before you start removing the microwave, make sure to turn off the power supply. Locate the circuit breaker that controls the power to the microwave and switch it off. This will prevent any electrical hazards that may occur during the removal process.
Protect Yourself
Wear protective gear such as gloves, safety glasses, and a dust mask to protect yourself from any debris that may fall during the removal process. Also, make sure to wear non-slip shoes to prevent any accidents that may occur due to slippery surfaces.
Request Assistance
Removing an over-the-stove microwave can be a two-person job. Request assistance from someone to help you lift and support the microwave during the removal process. This will help prevent any injuries that may occur due to the weight of the microwave.
Clear the Area
Before you start removing the microwave, make sure the area around it is clear. Remove any objects or items that may obstruct your movement or cause tripping hazards. Also, make sure to cover the stove and surrounding areas with a drop cloth to protect them from any debris that may fall during the removal process.
Follow the Manufacturer’s Instructions
Always refer to the manufacturer’s instructions before attempting to remove the microwave. Follow the instructions carefully to prevent any damage to the microwave or the surrounding area.
Gather Materials
Before removing an over the stove microwave, it is important to gather all necessary materials. This will ensure that the process goes smoothly and efficiently. The following sub-sections outline the tools and replacement microwave that may be needed.
Tools
To remove an over the stove microwave, the following tools may be necessary:
- Screwdriver: A screwdriver will be needed to remove any screws that are holding the microwave in place.
- Wrench: If the microwave is connected to a gas stove, a wrench may be needed to disconnect the gas line.
- Step stool or ladder: Depending on the height of the microwave, a step stool or ladder may be needed to reach it.
- Work gloves: Work gloves will protect hands from sharp edges or other hazards during the removal process.
Replacement Microwave
If the over the stove microwave is being removed for replacement, it is important to have the replacement microwave on hand. This will ensure that the new microwave can be installed immediately after the old one is removed. When selecting a replacement microwave, it is important to consider the size and style of the existing microwave, as well as any specific features that are desired.
It may be helpful to measure the space where the old microwave was located to ensure that the replacement microwave will fit properly. Additionally, it may be helpful to research and compare different models and brands to find the best option for the specific needs and preferences.
Disconnecting the Microwave
When removing an over the stove microwave, it’s important to disconnect it from its power source and remove the mounting plate. Here are the steps to do so:
Unplug the Microwave
The first step in disconnecting the microwave is to unplug it from its power source. This is usually located in the cabinet above the microwave. Simply reach up and unplug the cord from the outlet.
Remove the Mounting Plate
Once the microwave is unplugged, the next step is to remove the mounting plate. This is what holds the microwave in place above the stove. To remove it, follow these steps:
- Locate the mounting screws on top of the microwave and unscrew them using a screwdriver.
- Next, locate the screws on the bottom of the cabinet that connect to the top of the microwave. Use an electric screwdriver to turn these screws.
- Keep one hand underneath the front of the microwave to support it so it doesn’t fall.
- Once all the screws are removed, slowly pull the microwave away from the wall until it is completely free from the mounting plate.
It’s important to note that some microwaves may have additional screws or brackets holding them in place. Be sure to consult the manufacturer’s instructions or a professional if you’re unsure how to safely remove your specific model.
Removing the Microwave
Removing an over the stove microwave can be a daunting task, but with the right tools and instructions, it can be done quickly and efficiently. Here are the steps to follow to remove an over the stove microwave.
Detach the Microwave from the Wall
Before starting, make sure to turn off the power source to the microwave. Then, remove any items stored in the microwave and unplug it from the wall. Next, locate the mounting bracket that holds the microwave in place. The bracket is usually located at the top of the microwave and attached to the wall.
To detach the microwave from the wall, follow these steps:
- Locate the screws that secure the mounting bracket to the wall.
- Use a screwdriver to remove the screws.
- Hold the microwave securely with one hand while removing the screws to prevent it from falling.
- Once the screws are removed, carefully pull the microwave away from the wall.
Lower the Microwave
After detaching the microwave from the wall, the next step is to lower it. Here’s how to do it:
- Locate the tabs that hold the microwave to the mounting bracket.
- Support the microwave from underneath and lift it slightly to pop the tabs from the mounting bracket out from the bottom of the microwave.
- As you’re lifting the microwave, slowly take steps backward until the microwave is out of the opening.
- Once the microwave is out of the opening, place it on a sturdy surface.
By following these steps, anyone can remove an over the stove microwave with ease and without causing any damage.
Installing the Replacement Microwave
Once the old microwave has been removed, it’s time to install the replacement. Follow the specific installation instructions for the new microwave, but the general steps are as follows:
Mounting Bracket Installation
The mounting bracket is what holds the microwave in place above the stove. Follow these steps to install the mounting bracket:
- Refer to the installation instructions for the specific mounting bracket model.
- Attach the mounting bracket to the wall using screws and a drill.
- Make sure the mounting bracket is level and secure.
- Have a second person hold the microwave in place while you attach it to the mounting bracket using screws and a drill.
Connecting the Electrical Wires
Before connecting the electrical wires, make sure the power is turned off at the circuit breaker. Follow these steps to connect the electrical wires:
- Refer to the installation instructions for the specific microwave model.
- Connect the wires from the microwave to the wires in the wall using wire nuts.
- Tuck the wires into the space behind the microwave.
- Plug in the microwave and turn on the power at the circuit breaker.
Testing the Replacement Microwave
Once the old over-the-stove microwave has been removed, it’s time to install the new one. However, before doing so, it’s important to test the replacement microwave to ensure that it’s functioning properly. Here are a few steps to follow:
- Plug in the new microwave and make sure it’s securely connected to the outlet.
- Turn on the microwave and set it to a low power level.
- Place a cup of water inside the microwave and run it for 30 seconds.
- Check the water temperature to ensure that it has heated up properly. If the water is still cold, there may be an issue with the microwave.
If the microwave passes the water heating test, it’s ready to be installed. However, if there are any issues with the microwave, it’s best to contact the manufacturer for assistance.
Conclusion
Removing an over-the-range microwave may seem daunting, but with the right tools and knowledge, it can be done easily. It is important to follow the manufacturer’s instructions and take safety precautions to avoid any injuries.
To summarize the steps involved in removing an over-the-range microwave, first, prepare the workspace by disconnecting and/or removing the stove. Then, unplug the microwave and remove the top screws that secure it. Afterward, slide the microwave out of its place until the tabs pop off the bracket. Finally, lift the microwave out and away from the wall.


