Installing a pellet stove can be a great way to heat your home efficiently and cost-effectively. However, the installation process can be quite complex, and it’s important to take the necessary steps to ensure that your stove is installed safely and correctly. In this article, we will provide a step-by-step guide on how to install a pellet stove in your home.
Before you begin the installation process, it’s important to do your research and make sure that a pellet stove is the right choice for your home. Pellet stoves are generally more efficient than traditional wood-burning stoves, but they do require a steady supply of pellets to operate. Additionally, pellet stoves require electricity to power the fans and controls, so you will need to make sure that you have access to an electrical outlet in the room where you plan to install the stove. Once you’ve determined that a pellet stove is right for your home, you can begin the installation process by following the steps outlined in this guide.
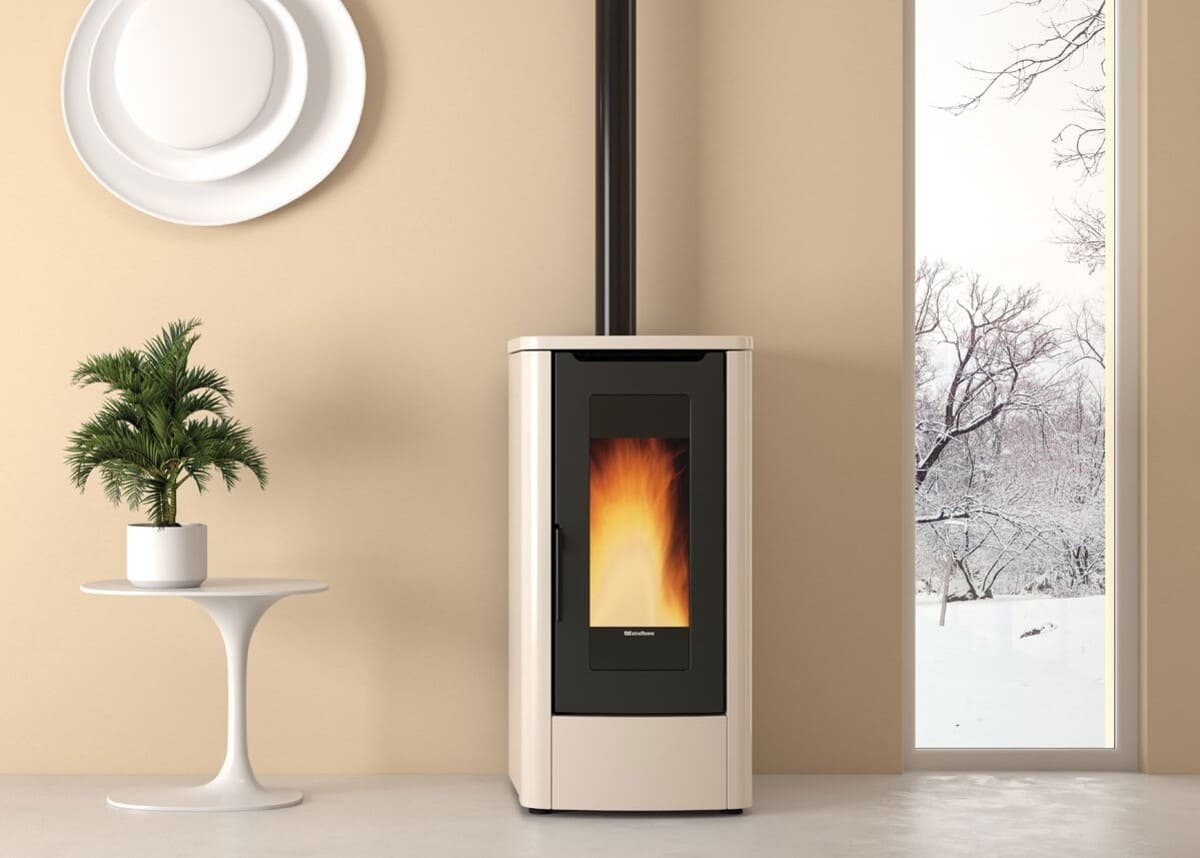
Choosing the Right Pellet Stove
When it comes to choosing the right pellet stove for your home, there are several factors to consider. From size and capacity to efficiency and emissions, selecting the right stove can make all the difference in keeping your home warm and comfortable during the colder months. Here are some key factors to keep in mind when choosing a pellet stove.
Size and Capacity
One of the most important factors to consider when selecting a pellet stove is size and capacity. The size of the stove you choose will depend on the size of your home and the area you want to heat. Stoves come in a range of sizes, from small units that can heat a single room to larger units that can heat an entire house.
In addition to size, you’ll also want to consider the stove’s capacity. This refers to the amount of pellets the stove can hold and how long it can burn before needing to be refilled. A larger capacity stove may be more convenient if you don’t want to have to refill it as often, but it may also be more expensive.
Efficiency and Emissions
Another important factor to consider when selecting a pellet stove is efficiency and emissions. Look for stoves with a high efficiency rating, which means they can convert a higher percentage of the pellets they burn into heat for your home. Additionally, look for stoves with low emissions, which means they release fewer pollutants into the air.
Efficiency and emissions are often measured by the stove’s BTU output and the grams per hour (g/hr) of particulate matter it emits. Look for stoves with a high BTU output and a low g/hr emissions rating for the most efficient and environmentally-friendly option.
Style and Design
Finally, consider the style and design of the pellet stove you choose. Pellet stoves come in a variety of styles, from traditional to modern, and can be made from a range of materials, including cast iron, steel, and soapstone.
Consider the overall look and feel of your home when selecting a stove, and choose a design that complements your existing decor. Additionally, consider any additional features you may want, such as a built-in thermostat or remote control.
By considering these key factors when selecting a pellet stove, you can find the right stove to keep your home warm and comfortable during the colder months.
Preparing for Installation
Before installing a pellet stove, it is important to take the necessary steps to ensure that the installation process goes smoothly. This section will cover the key factors to consider when preparing for the installation of a pellet stove.
Selecting a Location
The first step in preparing for the installation of a pellet stove is to select an appropriate location. The location should be chosen based on several factors, including:
- Proximity to an electrical outlet
- Adequate clearance from combustible surfaces
- Accessibility for venting and chimney requirements
- Proper ventilation for the stove
When selecting a location, it is important to consider the size of the stove and the clearance requirements specified by the manufacturer. It is also important to ensure that the location is easily accessible for venting and chimney requirements.
Venting and Chimney Requirements
Proper venting and chimney requirements are essential for the safe and effective operation of a pellet stove. The following factors should be considered when preparing for the installation of a pellet stove:
- The location of the stove in relation to the chimney
- The type of venting system required
- The length and diameter of the vent pipe
- The location of the vent pipe in relation to combustible surfaces
It is important to follow the manufacturer’s specifications when selecting the appropriate venting system and vent pipe for your pellet stove. The vent pipe should be installed at the correct angle and height to ensure proper draft and ventilation.
Clearing the Area
Before installing a pellet stove, it is important to clear the area of any combustible materials, such as furniture, curtains, or other flammable objects. The area around the stove should be kept clear and free of clutter to prevent fire hazards.
Additionally, it is important to ensure that the floor is level and stable to prevent the stove from tipping over. A fireproof pad should be installed under the stove to protect the floor from heat and sparks.
By taking the necessary steps to prepare for the installation of a pellet stove, homeowners can ensure that the installation process goes smoothly and that the stove operates safely and effectively.
Installing the Pellet Stove
Installing a pellet stove may seem like a daunting task, but with the right tools and knowledge, it can be done by anyone. This section will cover the three main steps of installing a pellet stove: assembling the stove, connecting the vent pipe, and wiring and electrical connections.
Assembling the Stove
Before installing the stove, it must be assembled. Most pellet stoves come with detailed instructions on how to do this, but here are some general steps:
- Attach the legs or base of the stove, following the manufacturer’s instructions.
- Install the firebox and hopper.
- Attach the flue collar to the top of the stove.
- Install the combustion blower and exhaust blower.
- Attach the control panel to the stove.
Connecting the Vent Pipe
Connecting the vent pipe is a crucial step in the installation process. Here are the steps to follow:
- Determine the best location for the vent pipe.
- Drill a hole through the exterior wall where the vent pipe will exit.
- Install the wall thimble and attach the vent pipe to it.
- Connect the vent pipe to the stove’s flue collar.
- Install any necessary elbows or adapters to ensure proper venting.
Wiring and Electrical Connections
The final step in installing a pellet stove is wiring and electrical connections. Here are some general steps to follow:
- Install an appropriate electrical outlet near the stove.
- Connect the stove’s power cord to the electrical outlet.
- Connect the thermostat wires to the control panel.
- Connect the blower wires to the control panel.
- Test the stove to ensure it is working properly.
Testing and Maintenance
Installing a pellet stove is just the beginning. Once it’s installed, it’s important to test it to ensure it’s functioning properly and perform regular maintenance to keep it running efficiently. Here are some tips for testing and maintaining your pellet stove:
Testing the Stove
After the installation is complete, the first step is to test the stove. Here’s how to do it:
- Turn off the stove and allow it to cool completely.
- Close all doors and windows in the room where the stove is installed.
- Turn on the stove and let it run for a few minutes.
- Check the chimney to ensure that smoke is being properly vented outside.
- Check the temperature of the stove to ensure it’s within the recommended range.
- Check the flame to ensure it’s burning evenly and not too high or low.
If any issues are found during the testing, it’s important to address them before using the stove regularly.
Cleaning and Maintenance
Regular cleaning and maintenance are essential to keep your pellet stove running efficiently. Here are some tips for cleaning and maintaining your pellet stove:
- Clean the ash pan and remove any ash buildup at least once a week.
- Clean the glass on the door of the stove with a non-abrasive cleaner.
- Clean the chimney and vent pipe at least once a year to remove any buildup.
- Check the gaskets and seals on the stove regularly to ensure they’re in good condition and replace them if necessary.
- Check the hopper and auger regularly to ensure they’re functioning properly.
- Have a professional inspect and service the stove at least once a year.
Conclusion
Installing a pellet stove is a cost-effective and eco-friendly way to heat your home. By following the proper installation steps, you can ensure that your pellet stove functions safely and efficiently.
Throughout this article, we have provided a step-by-step guide to help you install your pellet stove. From preparing the area to connecting the venting, we have covered all the necessary steps to get your pellet stove up and running.
It’s important to remember that proper installation is crucial for the safety of your home and family. If you are unsure about any part of the installation process, it’s recommended to seek professional help.
By installing a pellet stove, you can enjoy a warm and cozy home while also reducing your carbon footprint. With the right tools and knowledge, anyone can successfully install a pellet stove and reap the benefits of this efficient heating source.


