Installing a wood burning stove can be a great way to add warmth and ambiance to your home. However, it can also be a complex process that requires careful planning and preparation. From selecting the right stove to installing the necessary venting and creating a safe and stable base, there are many factors to consider when undertaking this project.
Before beginning the installation process, it is important to research local building codes and regulations to ensure that your stove meets all necessary safety standards. This may include obtaining a building permit or having your installation inspected by a qualified professional. Once you have a clear understanding of the regulations in your area, you can begin selecting a stove that is appropriate for your needs and budget. With the right tools and knowledge, anyone can successfully install a wood burning stove and enjoy the benefits of a warm and cozy home.
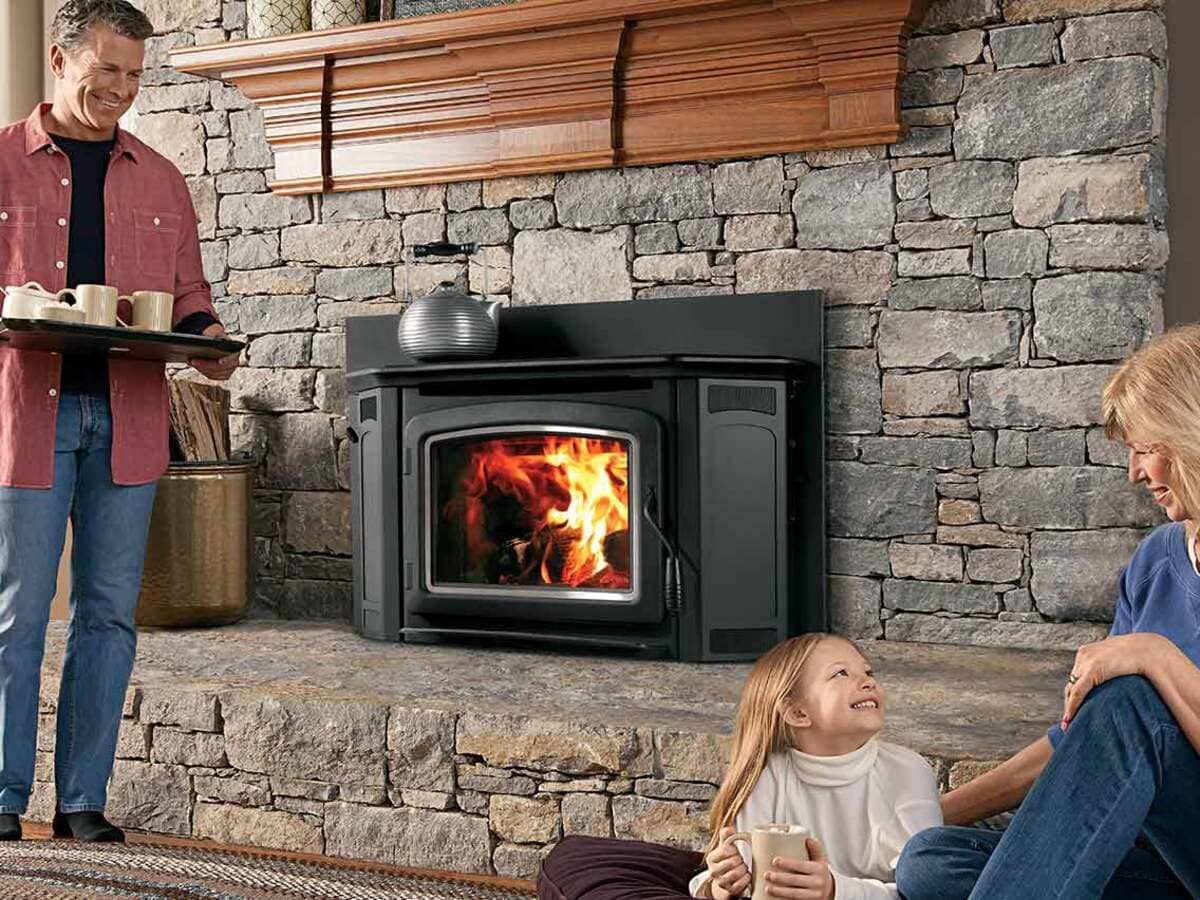
Choosing the Right Stove
When it comes to installing a wood-burning stove, choosing the right stove is crucial. There are a few factors that need to be considered before making a purchase. In this section, we will discuss the important factors that should be considered when choosing the right stove.
Size and Capacity
The size of the stove should be determined based on the size of the space to be heated. A stove that is too small will not provide enough heat, while a stove that is too large will waste fuel and create too much heat. The capacity of the stove should also be considered. A stove with a larger capacity will require less frequent reloading of wood.
Efficiency and Emissions
The efficiency of the stove should be considered when choosing the right stove. A stove with a higher efficiency rating will produce more heat with less wood, which will save money on fuel costs. The emissions produced by the stove should also be considered. A stove with lower emissions will produce less pollution and be better for the environment.
Style and Design
The style and design of the stove should also be considered. There are many different styles of stoves available, from traditional to modern. The design of the stove should also be considered, as it will affect the overall look of the room. Some stoves have a more decorative design, while others have a more minimalist design.
Preparing the Installation Area
Before installing a wood-burning stove, it is important to prepare the installation area properly. This involves clearing the space, installing the chimney, and ensuring that the area is safe and up to code.
Clearing the Space
The first step in preparing the installation area is to clear the space where the stove will be located. This involves removing any furniture, rugs, or other items that may be in the way. It is also important to ensure that there is enough space around the stove for safe operation and maintenance.
Installing the Chimney
Once the space has been cleared, the next step is to install the chimney. This involves determining the best location for the chimney, cutting a hole in the roof or wall, and installing the chimney pipe. It is important to ensure that the chimney is installed correctly and meets all local building codes and regulations.
When installing the chimney, it is important to consider factors such as the height of the chimney, the type of chimney pipe to use, and the distance between the stove and the chimney. It is also important to ensure that the chimney is properly insulated to prevent heat loss and reduce the risk of fire.
Installing the Stove
When it comes to installing a wood burning stove, there are several steps you need to follow. This section will guide you through the process of installing the stove.
Placing the Stove
The first step in installing a wood burning stove is to place it in the desired location. The stove should be placed on a non-combustible floor pad to protect the floor from heat damage. The floor pad should extend at least 18 inches beyond the sides and back of the stove and at least 8 inches in front of the stove door.
Once the stove is in place, it should be leveled using a level tool. This is important to ensure that the stove operates efficiently and safely.
Connecting the Chimney Pipe
The next step is to connect the chimney pipe to the stove. The chimney pipe should be the same diameter as the stove’s flue collar. The pipe should be connected securely to the stove using sheet metal screws.
The chimney pipe should be routed through the ceiling or wall and connected to the chimney. The chimney pipe should be installed with a slight upward slope towards the chimney to ensure proper draft.
Sealing and Insulating
After the chimney pipe is connected, it should be sealed and insulated. High-temperature silicone sealant should be used to seal the joints between the chimney pipe and the stove and between the chimney pipe and the chimney.
Insulation should be installed around the chimney pipe to prevent heat from escaping and to protect nearby combustible materials. Insulation can be in the form of fiberglass or mineral wool.
Final Steps
Once the wood stove is installed, there are a few final steps to take before enjoying the warmth it provides.
Testing the Stove
Before using the stove, it’s important to test it to ensure it’s working properly. Start by lighting a small fire and observing the smoke as it exits the chimney. If the smoke is white or gray, it’s a sign that the stove isn’t burning efficiently. Adjust the air intake to improve combustion and reduce smoke.
Next, check the stove’s draft by holding a lit match near the stovepipe. The flame should be drawn up into the pipe. If it isn’t, there may be a blockage in the chimney that needs to be cleared.
Cleaning and Maintenance
Regular cleaning and maintenance will keep the wood stove working efficiently and reduce the risk of chimney fires. Here are a few tips:
- Clean the stovepipe and chimney at least once a year to remove creosote buildup.
- Check the gaskets around the stove and stovepipe and replace them if they’re damaged.
- Keep the stove and surrounding area free of debris and combustible materials.
- Check the stove’s air intake and ash pan regularly and clean them as needed.
- Use only seasoned wood to reduce creosote buildup and improve combustion.
Conclusion
Installing a wood burning stove can be a great way to heat a room, save money on energy bills, and reduce your carbon footprint. However, it is important to make sure that the installation is done correctly to avoid any safety hazards.
Some key takeaways from this article include:
- Make sure to follow all local building codes and regulations when installing a wood burning stove.
- Choose a location for the stove that is safe and allows for proper ventilation.
- Install a heat-resistant material behind the stove to protect the walls from excessive heat.
- Hire a professional to install the stove if you are not confident in your ability to do it yourself.
- Regularly clean and maintain the stove to ensure it continues to function properly.
By following these guidelines, you can enjoy the benefits of a wood burning stove while also ensuring the safety of your home and family.


